2026-03-04 · Updated 2026-07-12
Best Image Resizer for Social Media Workflows
Resize social media images with the right ratios, crop safe zones, export sizes, compression settings, and a repeatable workflow for each platform.
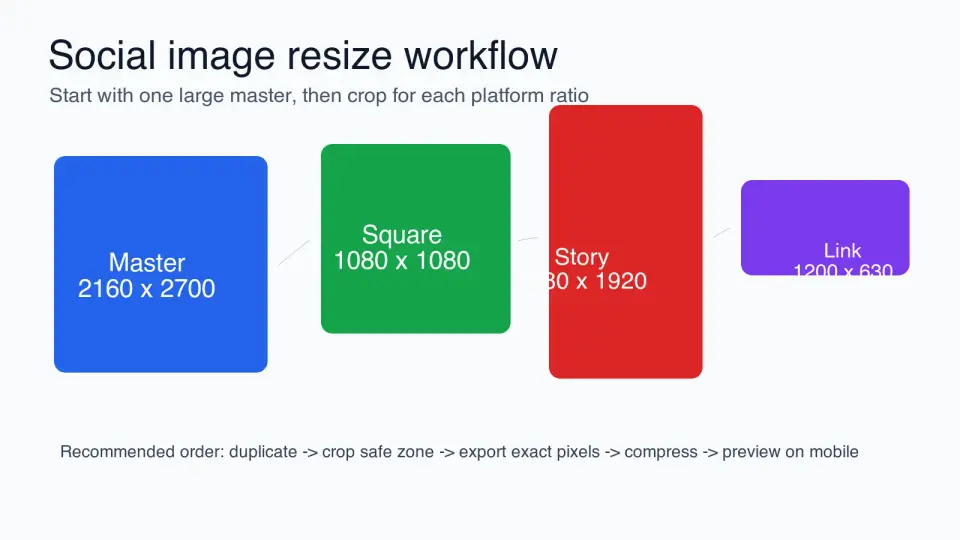
Last updated: July 12, 2026
Creators and marketers usually do not need one resized image. They need a square feed post, a story crop, a link preview, a YouTube thumbnail, and sometimes a Pinterest pin from the same source file. The hard part is deciding what to crop, what to protect, and what to export before the platform makes the decision for you.
Quick answer: what is the best way to resize images for social media?
Use an image resizer that lets you set an exact aspect ratio, preview the crop, lock important content inside a safe zone, and export a separate file for each platform. For most social campaigns, the useful set is 1080x1080, 1080x1350, 1080x1920, 1200x630, 1200x675, 1280x720, and 1000x1500.
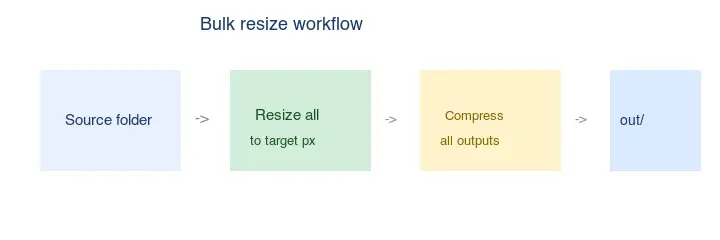
Start with the largest clean source image you have. Duplicate it, choose the platform ratio, crop around the subject, export the exact pixel size, then compress the final file. If you need to produce a full campaign from one shoot, use the Image Resizer for individual assets and the batch resize workflow when every product photo needs the same output sizes.
The key takeaway: pick the ratio before you resize. A 1080px-wide image can still be wrong if the crop cuts off a face, product label, price, or headline.
Which social media ratio should you choose first?
Choose the placement before choosing the pixels. Instagram feed, stories, link previews, YouTube thumbnails, and Pinterest pins all reward different shapes. If you begin by typing a width into a resize box, you may preserve the wrong composition.
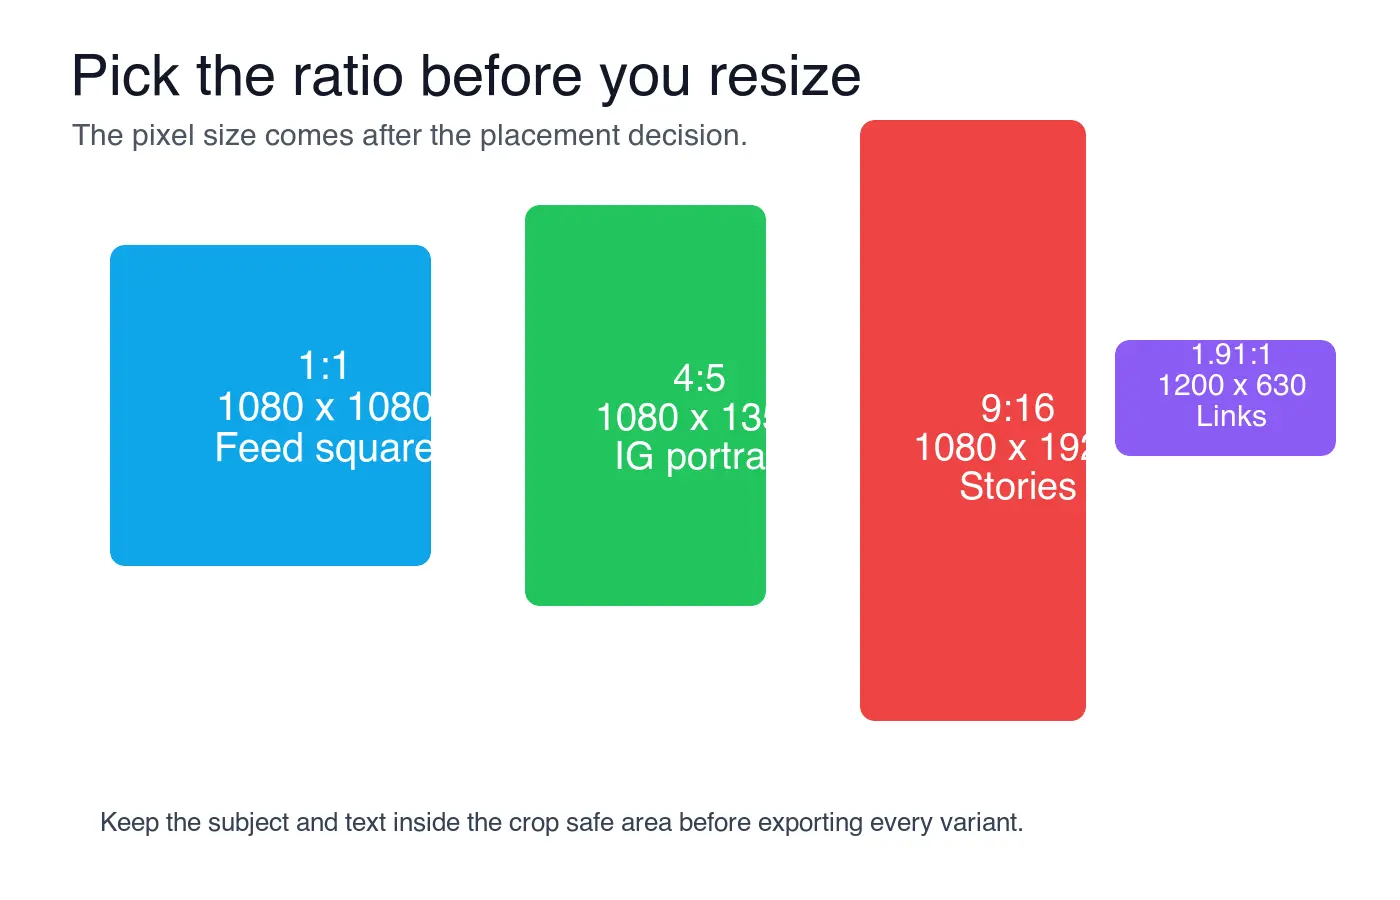
| Placement goal | Start with this ratio | Common export size | Use when |
|---|---|---|---|
| Instagram or Facebook feed square | 1:1 | 1080x1080 | The subject is centered and the same image must work in a profile grid. |
| Instagram portrait feed | 4:5 | 1080x1350 | You want more vertical space without using a story format. |
| Stories, Reels covers, TikTok stills | 9:16 | 1080x1920 | The image fills a phone screen and can tolerate interface overlays. |
| Facebook, LinkedIn, or Open Graph link preview | 1.91:1 | 1200x630 | You need a reusable website, newsletter, or social card image. |
| Twitter/X image post | 16:9 | 1200x675 | The image is landscape and should preview cleanly in a fast feed. |
| YouTube thumbnail | 16:9 | 1280x720 | The image needs large text and a clear subject at small preview sizes. |
| Pinterest standard pin | 2:3 | 1000x1500 | The asset should take vertical space in a discovery feed. |
If one source image must serve every platform, design the master around the center. A product photo with the label in the middle can be cropped into square, portrait, and landscape versions. A flyer with text at all four edges usually cannot.
What crop-safe zone should you protect?
Protect the part of the image that would be expensive or embarrassing to lose: a face, product name, offer, date, QR code, logo, or callout. Put that content inside the center of the image before making platform-specific crops.
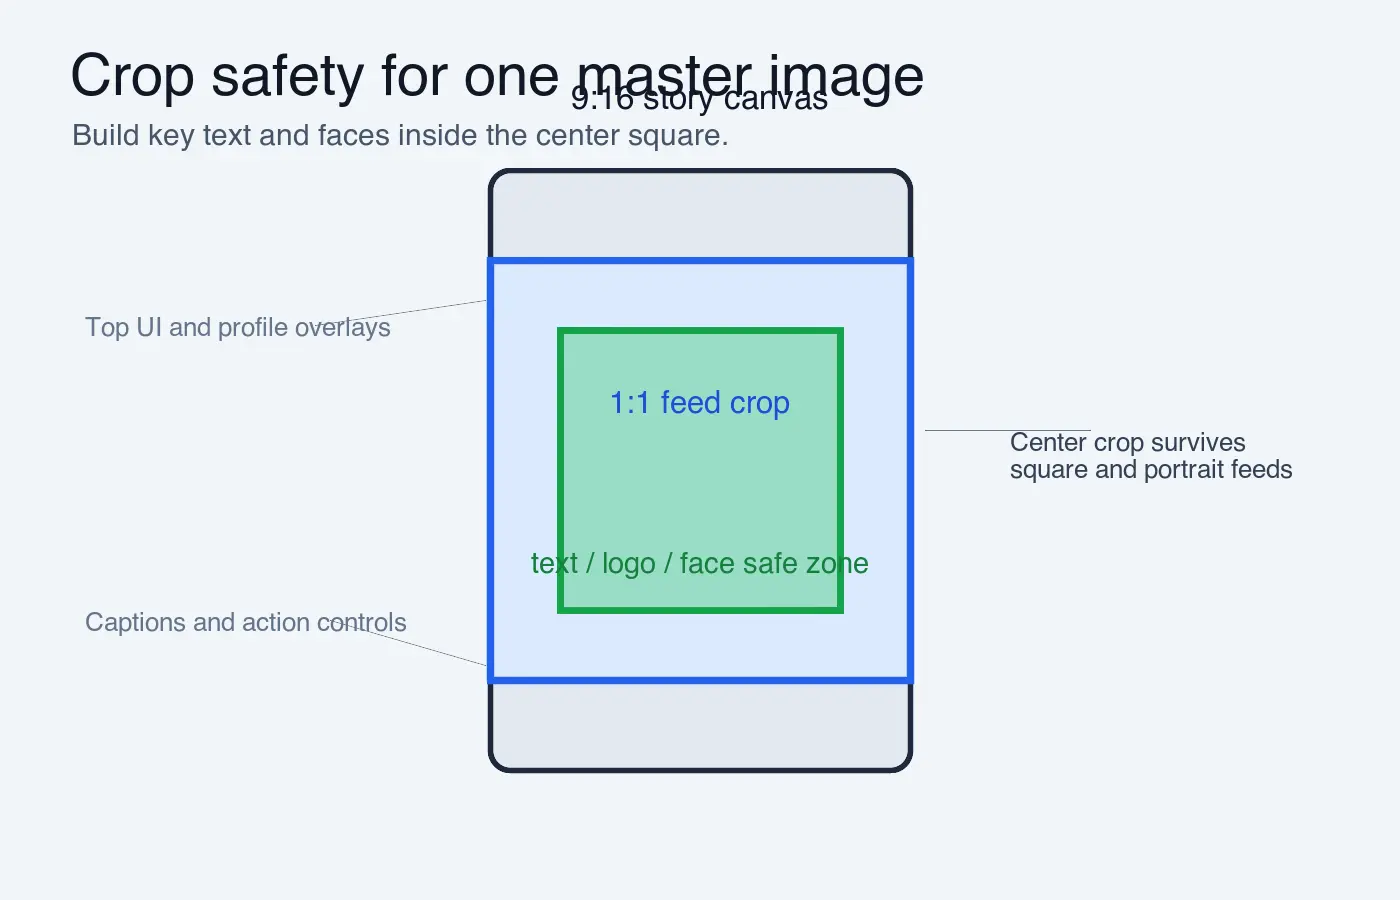
Use this crop order when a single master image needs several outputs:
- Open the original at its full resolution.
- Duplicate the file before making any destructive crop.
- Mark the subject, headline, logo, and price as protected content.
- Make the tallest crop first, usually 9:16.
- Check whether the center square still contains the important content.
- Export the square feed version.
- Make the landscape link-preview crop last.
- Compress each final export separately.
- Preview the files on a phone, not only on a desktop.
- Keep the uncropped original for later platform changes.
For stories and Reels, keep important text away from the top and bottom bands. Platform interface elements, captions, profile names, and action buttons often sit there. Instagram's own help pages describe supported feed aspect ratios and image widths, including square, portrait, and landscape photo uploads on Instagram Help.
What sizes should you export for each platform?
The table below is a practical export set, not a permanent rulebook. Platform specs change, and ad products may have separate requirements. Before a paid campaign, verify the placement in the platform's current help or business docs.
| Platform | Format | Export size | Crop note |
|---|---|---|---|
| Square feed | 1080x1080 | Keep text inside the middle 80% so the grid crop still works. | |
| Portrait feed | 1080x1350 | Strong for vertical photos, product shots, and carousel covers. | |
| Instagram, Facebook, TikTok | Story or vertical cover | 1080x1920 | Leave breathing room at top and bottom for app controls. |
| Shared image or link preview | 1200x630 | Works well for Open Graph cards and campaign landing pages. | |
| Twitter/X | Single image post | 1200x675 | Use a centered subject for feed previews. |
| Shared image | 1200x627 | Very close to 1200x630; avoid edge text. | |
| YouTube | Custom thumbnail | 1280x720 | Google recommends 1280x720, 16:9, and a file under 2 MB for custom thumbnails. |
| Standard pin | 1000x1500 | Pinterest's creative guidance favors vertical assets, and 2:3 pins are the safest default for product or article promotion. |
If you want a broader size chart, use the social media image sizes cheat sheet. This article is about the resizing decision: how to turn one source into the right set of platform-ready images without accidental crops.
How do you keep quality after resizing?
Downsize from a larger source whenever possible. Upscaling a 700px-wide image into a 1200px link preview cannot create real detail; it only spreads the existing pixels across a larger canvas. If the source is too small, choose a smaller placement or replace the image.
For this update, I rendered the reference diagrams at 1400 to 1600 pixels wide and converted them to WebP at quality 82. The resulting files are 28 KB to 60 KB locally, which is small enough for fast article loading while keeping labels readable. That measured step is the same habit to use for campaign exports: resize first, then compress the final dimensions.
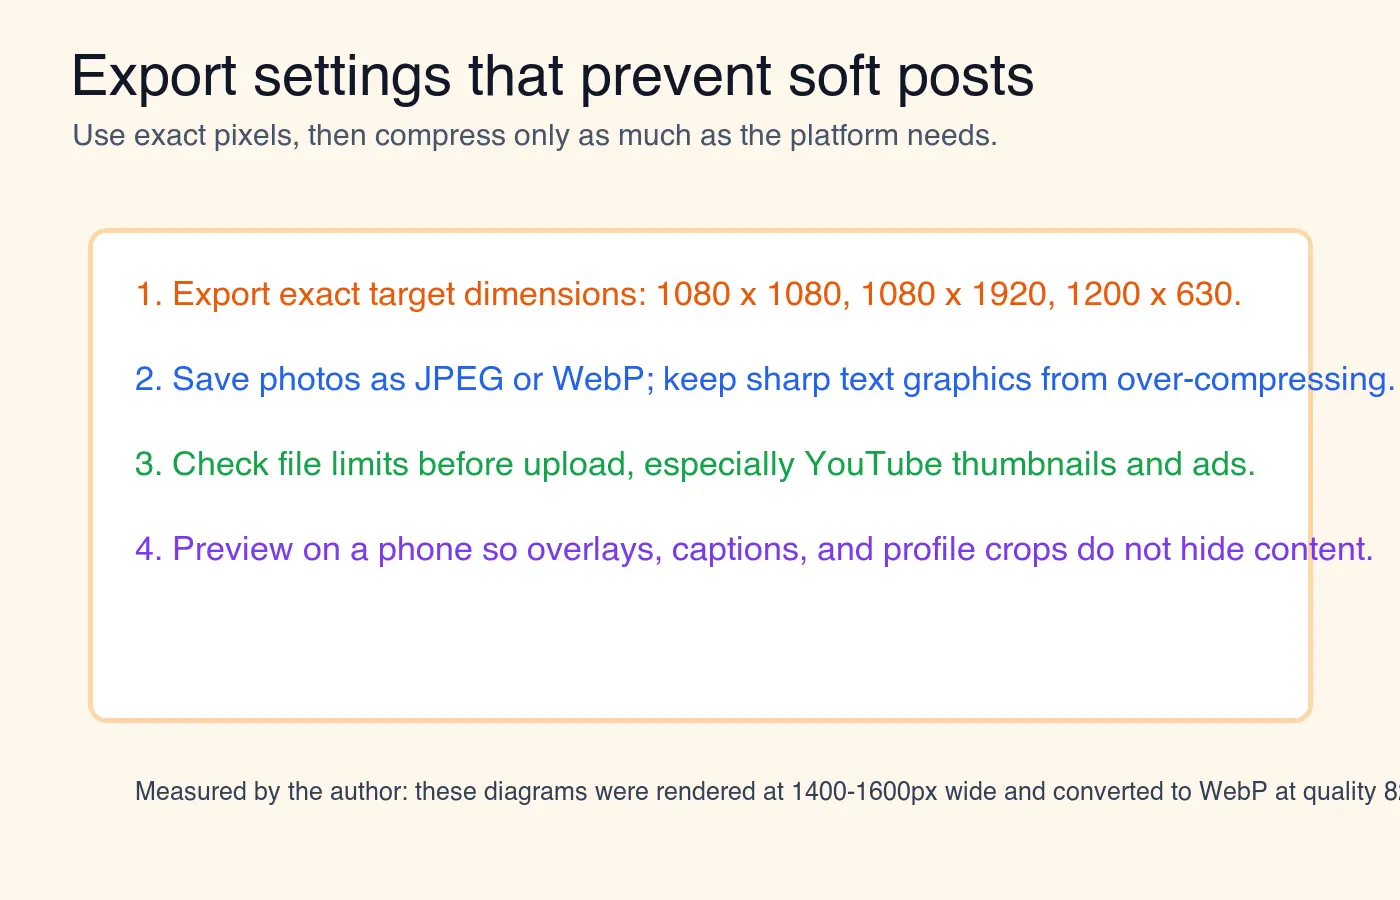
Use these export rules:
- Save photos as JPEG or WebP when the platform accepts them.
- Save graphics with sharp text at a higher quality setting than plain photos.
- Avoid repeated export cycles from a compressed file.
- Keep a layered or full-resolution master outside the social export folder.
- Check small text at actual phone size before posting.
- Compress after resizing, not before.
- Use sRGB color for web uploads.
- Keep filenames clear, such as
product-launch-instagram-story.webp.
Google's performance guidance explains why correctly sized images matter: oversized images waste bytes, while responsive and compressed images improve page loading. The web.dev image performance guide is a good source for the underlying web performance principle. For more detail on quality loss, read how to resize an image without losing quality and image compression basics.
Should you crop, fit, or add padding?
Use crop when the platform placement must be full bleed. Use fit when the whole image is more important than filling the frame. Use padding when the image is a logo, certificate, menu, poster, or screenshot that cannot lose edges.
| Method | What it does | Best for | Watch out for |
|---|---|---|---|
| Crop to fit | Fills the target ratio by cutting off the extra sides or top/bottom. | Portraits, products, lifestyle photos, feed images. | Can remove text, hands, product labels, or dates. |
| Fit inside | Keeps the whole image visible and may leave empty space. | Screenshots, charts, posters, documents. | May look smaller in busy mobile feeds. |
| Add padding | Places the full image on a larger canvas with a background color. | Logos, quotes, sale flyers, square-to-story conversions. | Padding can look cheap if the background color is random. |
A simple rule works for most marketing assets: crop photos, pad graphics, and rebuild text-heavy flyers in the correct ratio. If a flyer was designed for 1:1, stretching it to 9:16 usually makes the text cramped. Recreate the story version instead of forcing the square into a tall canvas.
What is a fast workflow for resizing a campaign set?
Use a repeatable folder and naming structure. It prevents the common mistake of uploading the wrong crop because every file is called final-final-social.png.
- Create a folder named after the campaign.
- Put originals in
source. - Put exports in folders named
instagram,story,linkedin,youtube, andpinterest. - Resize one hero image manually and confirm the crop rules.
- Apply those rules to the remaining images.
- Review the exports in a grid so mismatched crops stand out.
- Compress only the approved files.
- Upload a test post or draft before scheduling the full batch.
When every source image needs the same output sizes, use batch resizing. When each image has a different subject position, resize manually. Batch processing is fast, but it cannot know that one model's face is near the left edge or that one product label sits at the bottom.
Common mistakes to avoid
The mistakes that cause soft or awkward social images are usually workflow mistakes, not tool mistakes.
- Resizing by width only and ignoring the final aspect ratio.
- Using a story crop as a feed square without checking the center.
- Letting platform auto-crop a link preview with text near the edge.
- Exporting from a compressed download instead of the original.
- Uploading an image larger than needed, then relying on the app to process it.
- Using tiny text on YouTube thumbnails or Pinterest pins.
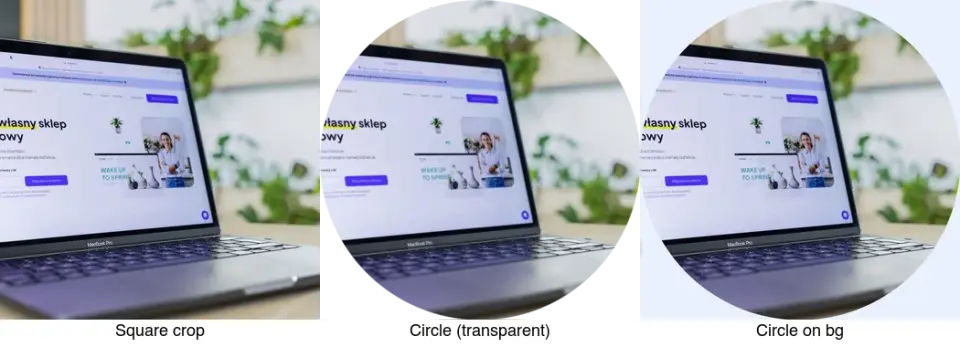
- Forgetting that profile images are often shown as circles.
- Keeping the same file name for every platform version.
- Recompressing the same JPEG several times.
- Posting without checking the result on mobile.
The best image resizer is the one that helps you make these decisions before export. Exact dimensions matter, but crop control matters more.
Related guides
- Social Media Image Sizes: Complete Cheat Sheet
- How to Batch Resize Images
- How to Resize an Image Without Losing Quality
- Image Compression Deep Dive
- Mobile Image Optimization Guide
Frequently asked questions
What size should I export for an Instagram feed square post?
Export a 1:1 crop at 1080x1080 pixels and keep key text or the subject inside the middle 80% of the frame.
What size should I use for Instagram, Facebook, or TikTok Stories?
Export a 9:16 crop at 1080x1920 pixels and leave breathing room near the top and bottom for interface overlays.
What size should I use for a Facebook or LinkedIn link preview image?
Export a 1.91:1 crop at 1200x630 pixels (1200x627 for LinkedIn) and keep text away from the edges.
What is the recommended size for a YouTube custom thumbnail?
Export a 16:9 image at 1280x720 pixels and keep the file under 2 MB, matching Google's own thumbnail guidance.
What aspect ratio works best for Pinterest pins?
Use a vertical 2:3 ratio at 1000x1500 pixels, which Pinterest's creative guidance favors for discovery-feed placement.
Should I crop, fit, or pad an image for social media?
Crop photos and lifestyle shots to fill the frame, fit screenshots and posters so nothing gets cut off, and pad logos or flyers onto a larger canvas instead of stretching them.
Why does a resized image look soft or blurry after posting?
The source was likely upscaled from an image that was too small, since enlarging pixels cannot recreate detail that was never captured.
Can one source photo be resized for every social platform at once?
Yes, as long as the important subject sits near the center of the frame so it survives being cropped into square, portrait, and landscape versions.
Image credits
- Workflow, ratio grid, crop safe-zone, and export checklist diagrams were generated for this article with ImageMagick using real social-media export dimensions and converted to WebP for CDN delivery.
Use the free tools while you follow the guide.
Keep reading
2026-07-26
How to Batch Resize Images: Free Tools and Scripts Compared
Resize hundreds of images at once with free online tools, ImageMagick, XnConvert, and Python scripts. Copy-paste commands, preset sizes, and a practical workflow.
2026-07-26
Bulk Image Resizer: Resize Hundreds of Images at Once (Free)
Resize hundreds of images in bulk for free with a browser tool, ImageMagick, XnConvert, or a Python script, with real byte savings and the safe batch workflow.
2026-07-26
How to Crop an Image to a Circle (Profile Photos and Avatars)
Crop an image to a circle for avatars and profile photos: the square-first rule, making a transparent circle PNG or a circle on a background, and where circles are used.